Announcing PFW’s 12-Week Furniture Making Intensive! IntensiveCraig StevensAugust 10, 2020Craftsmanship, Design, Technique, Hand tools, Machines, Joinery Comment
Tree to Lumber - Milling Logs with a Bandsaw Mill Milling LogsCraig StevensJuly 2, 2020Air dried wood, Sawmills, Logs Comments
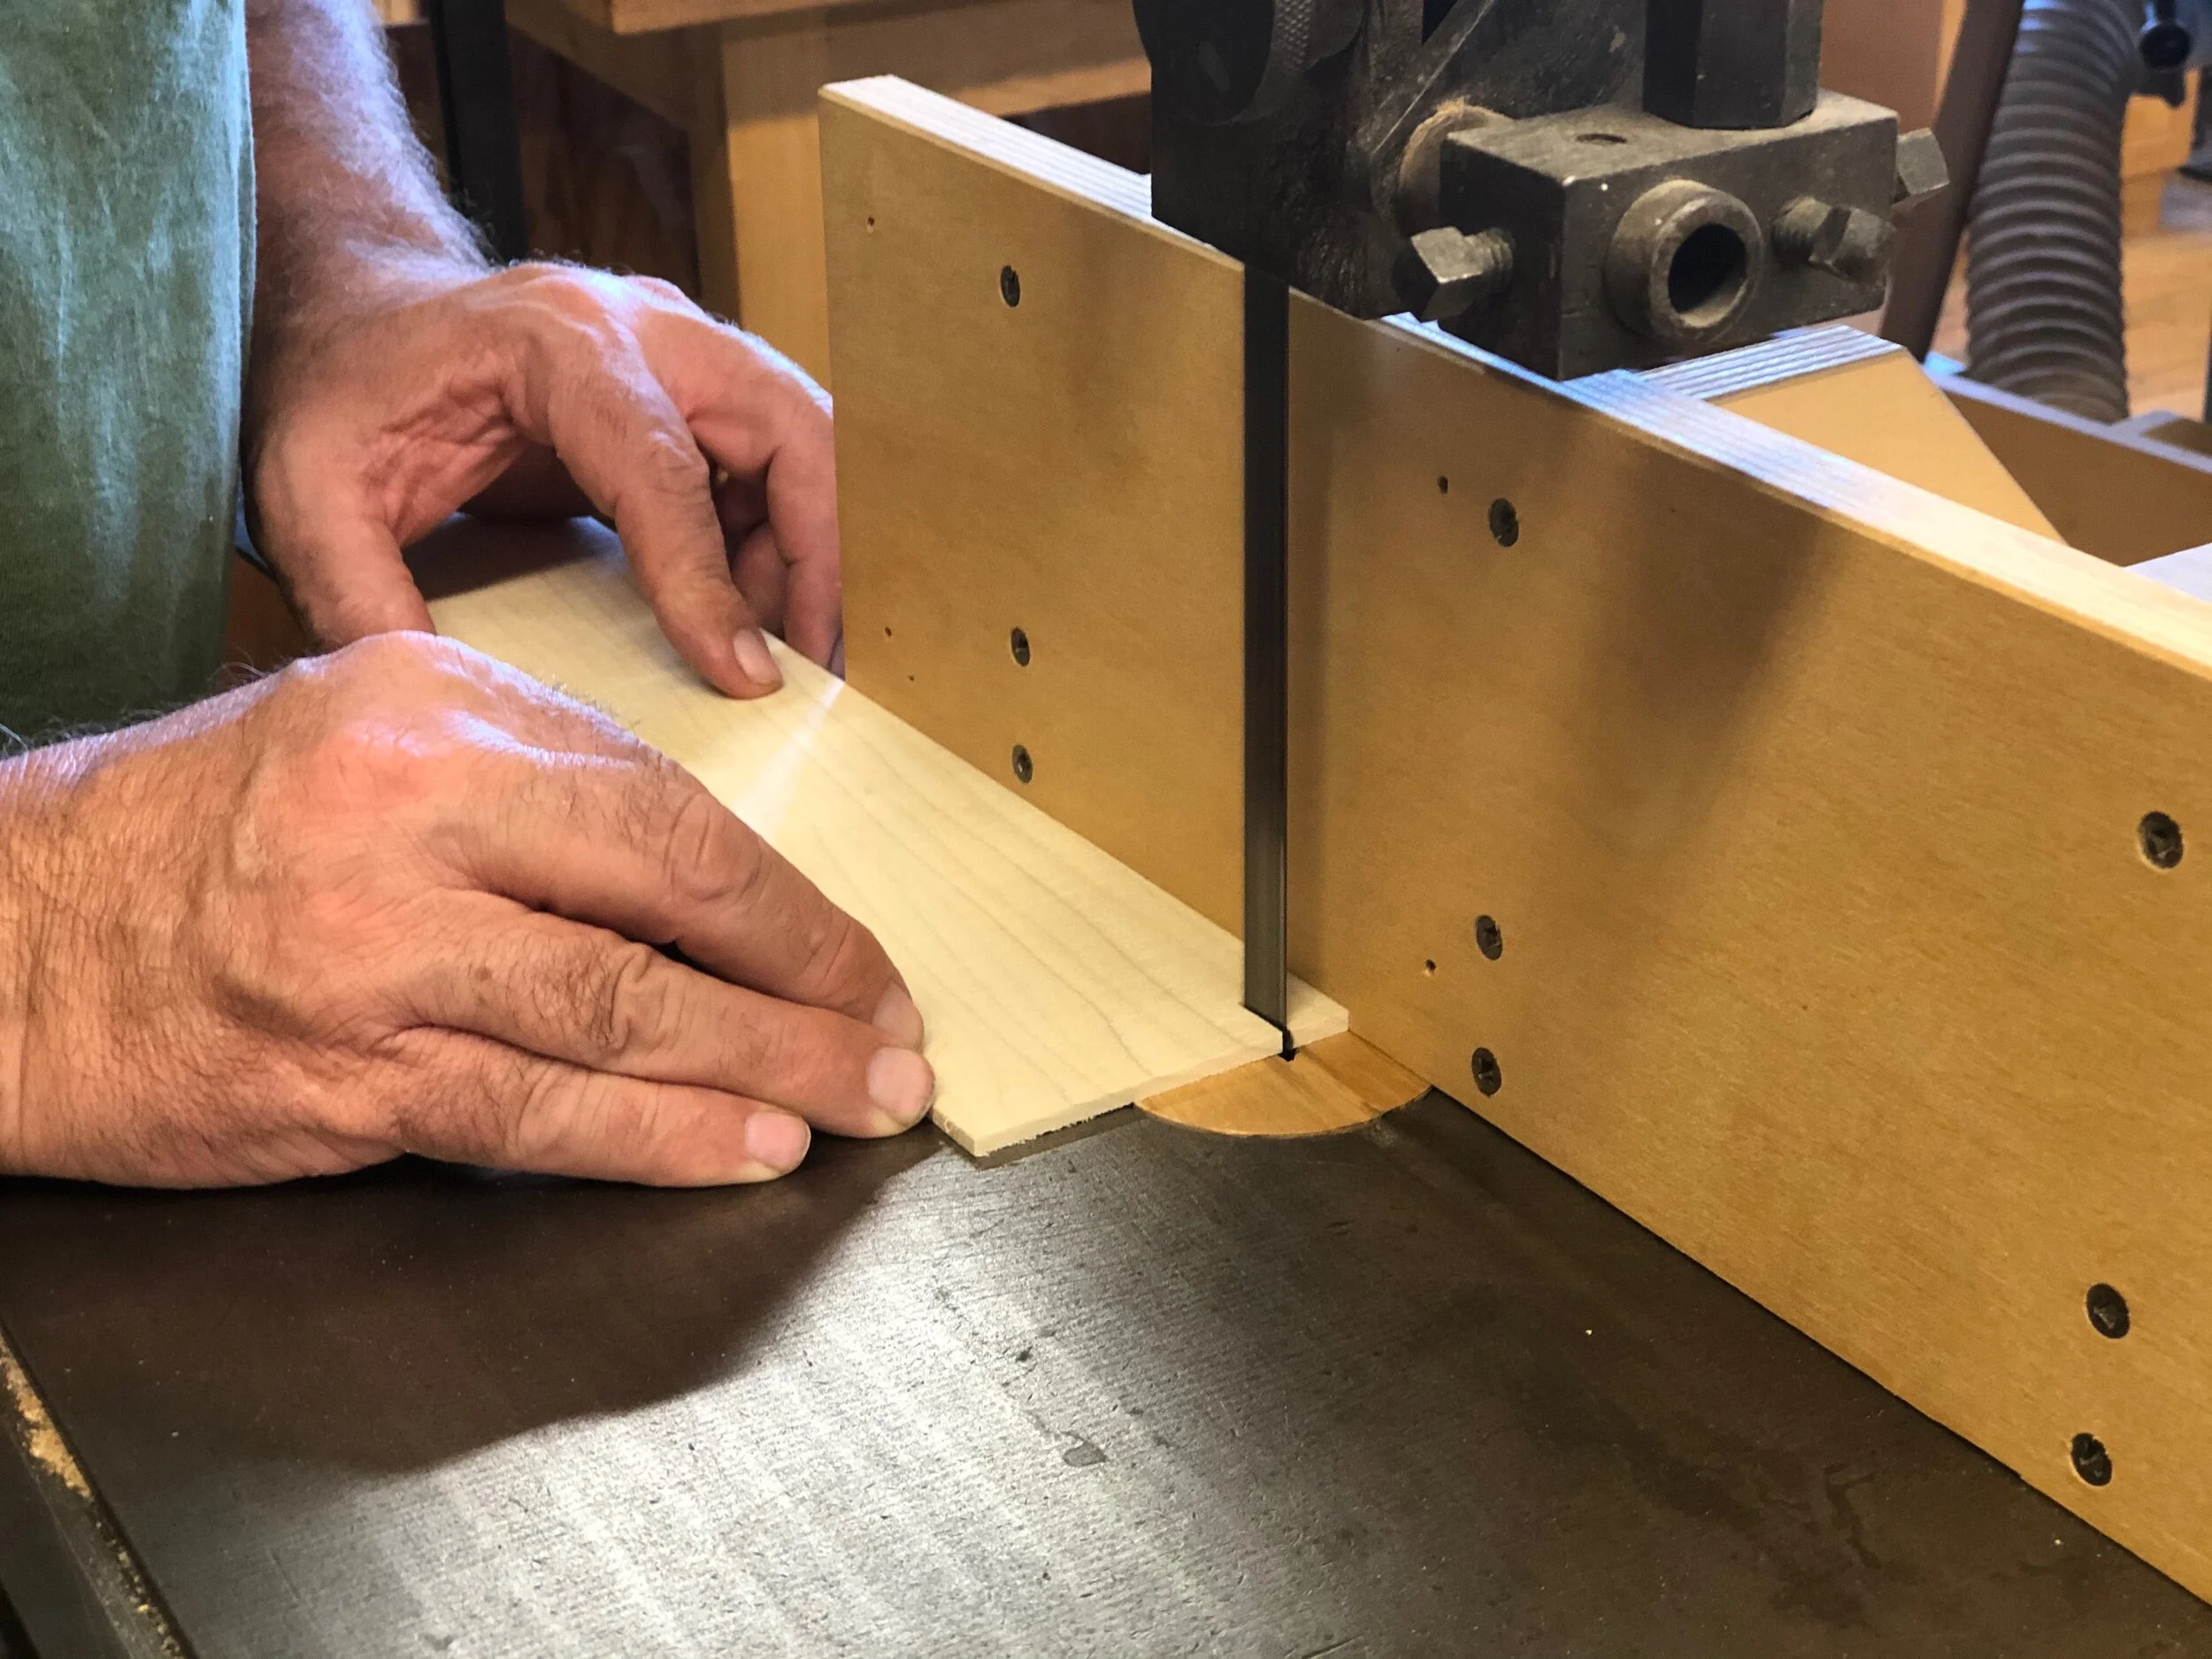
Resawing on the Bandsaw - a Simple Test for Parallel Results Shop tipsCraig StevensMay 23, 2020Resawing, Veneers, Bandsaw, Shop tipComment
Repairing Dings and Dents With Steam Shop tips, VideoCraig StevensMay 23, 2020Repairs, Simple fixes Comment
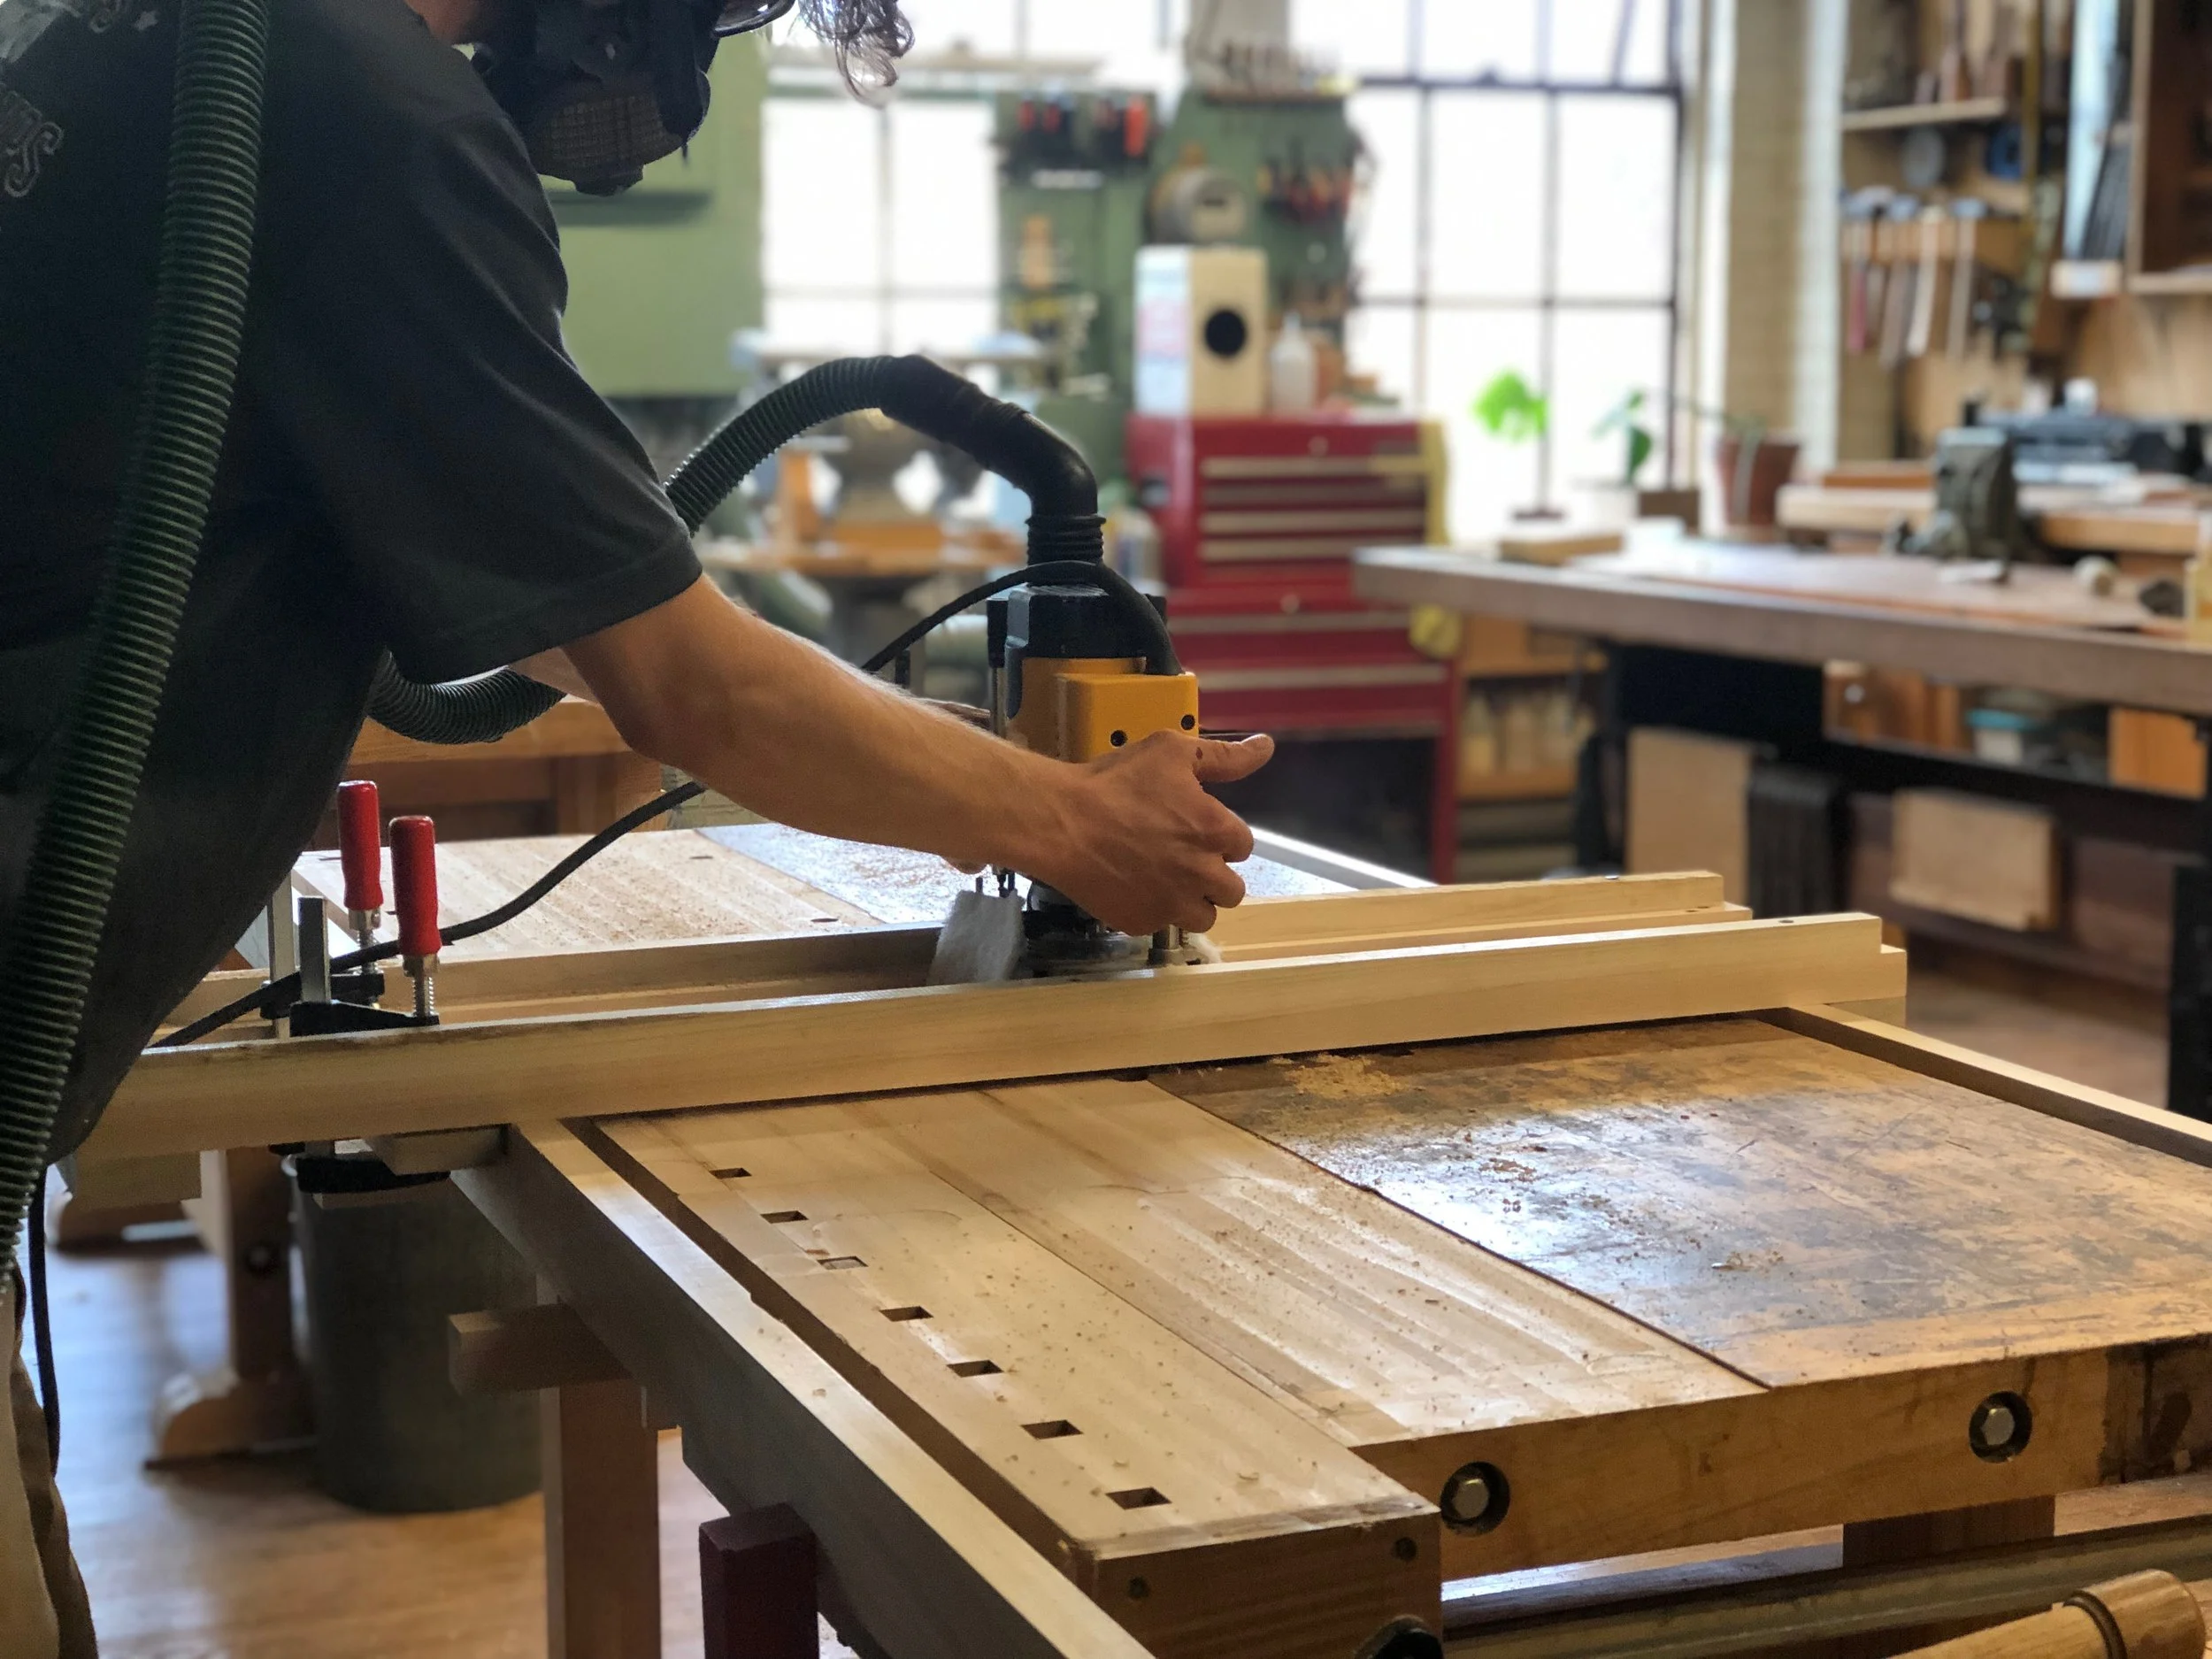
Flattening a Workbench or Big Slab Shop tipsCraig StevensSeptember 19, 2019Workbenches, Router jigs, FlatteningComment
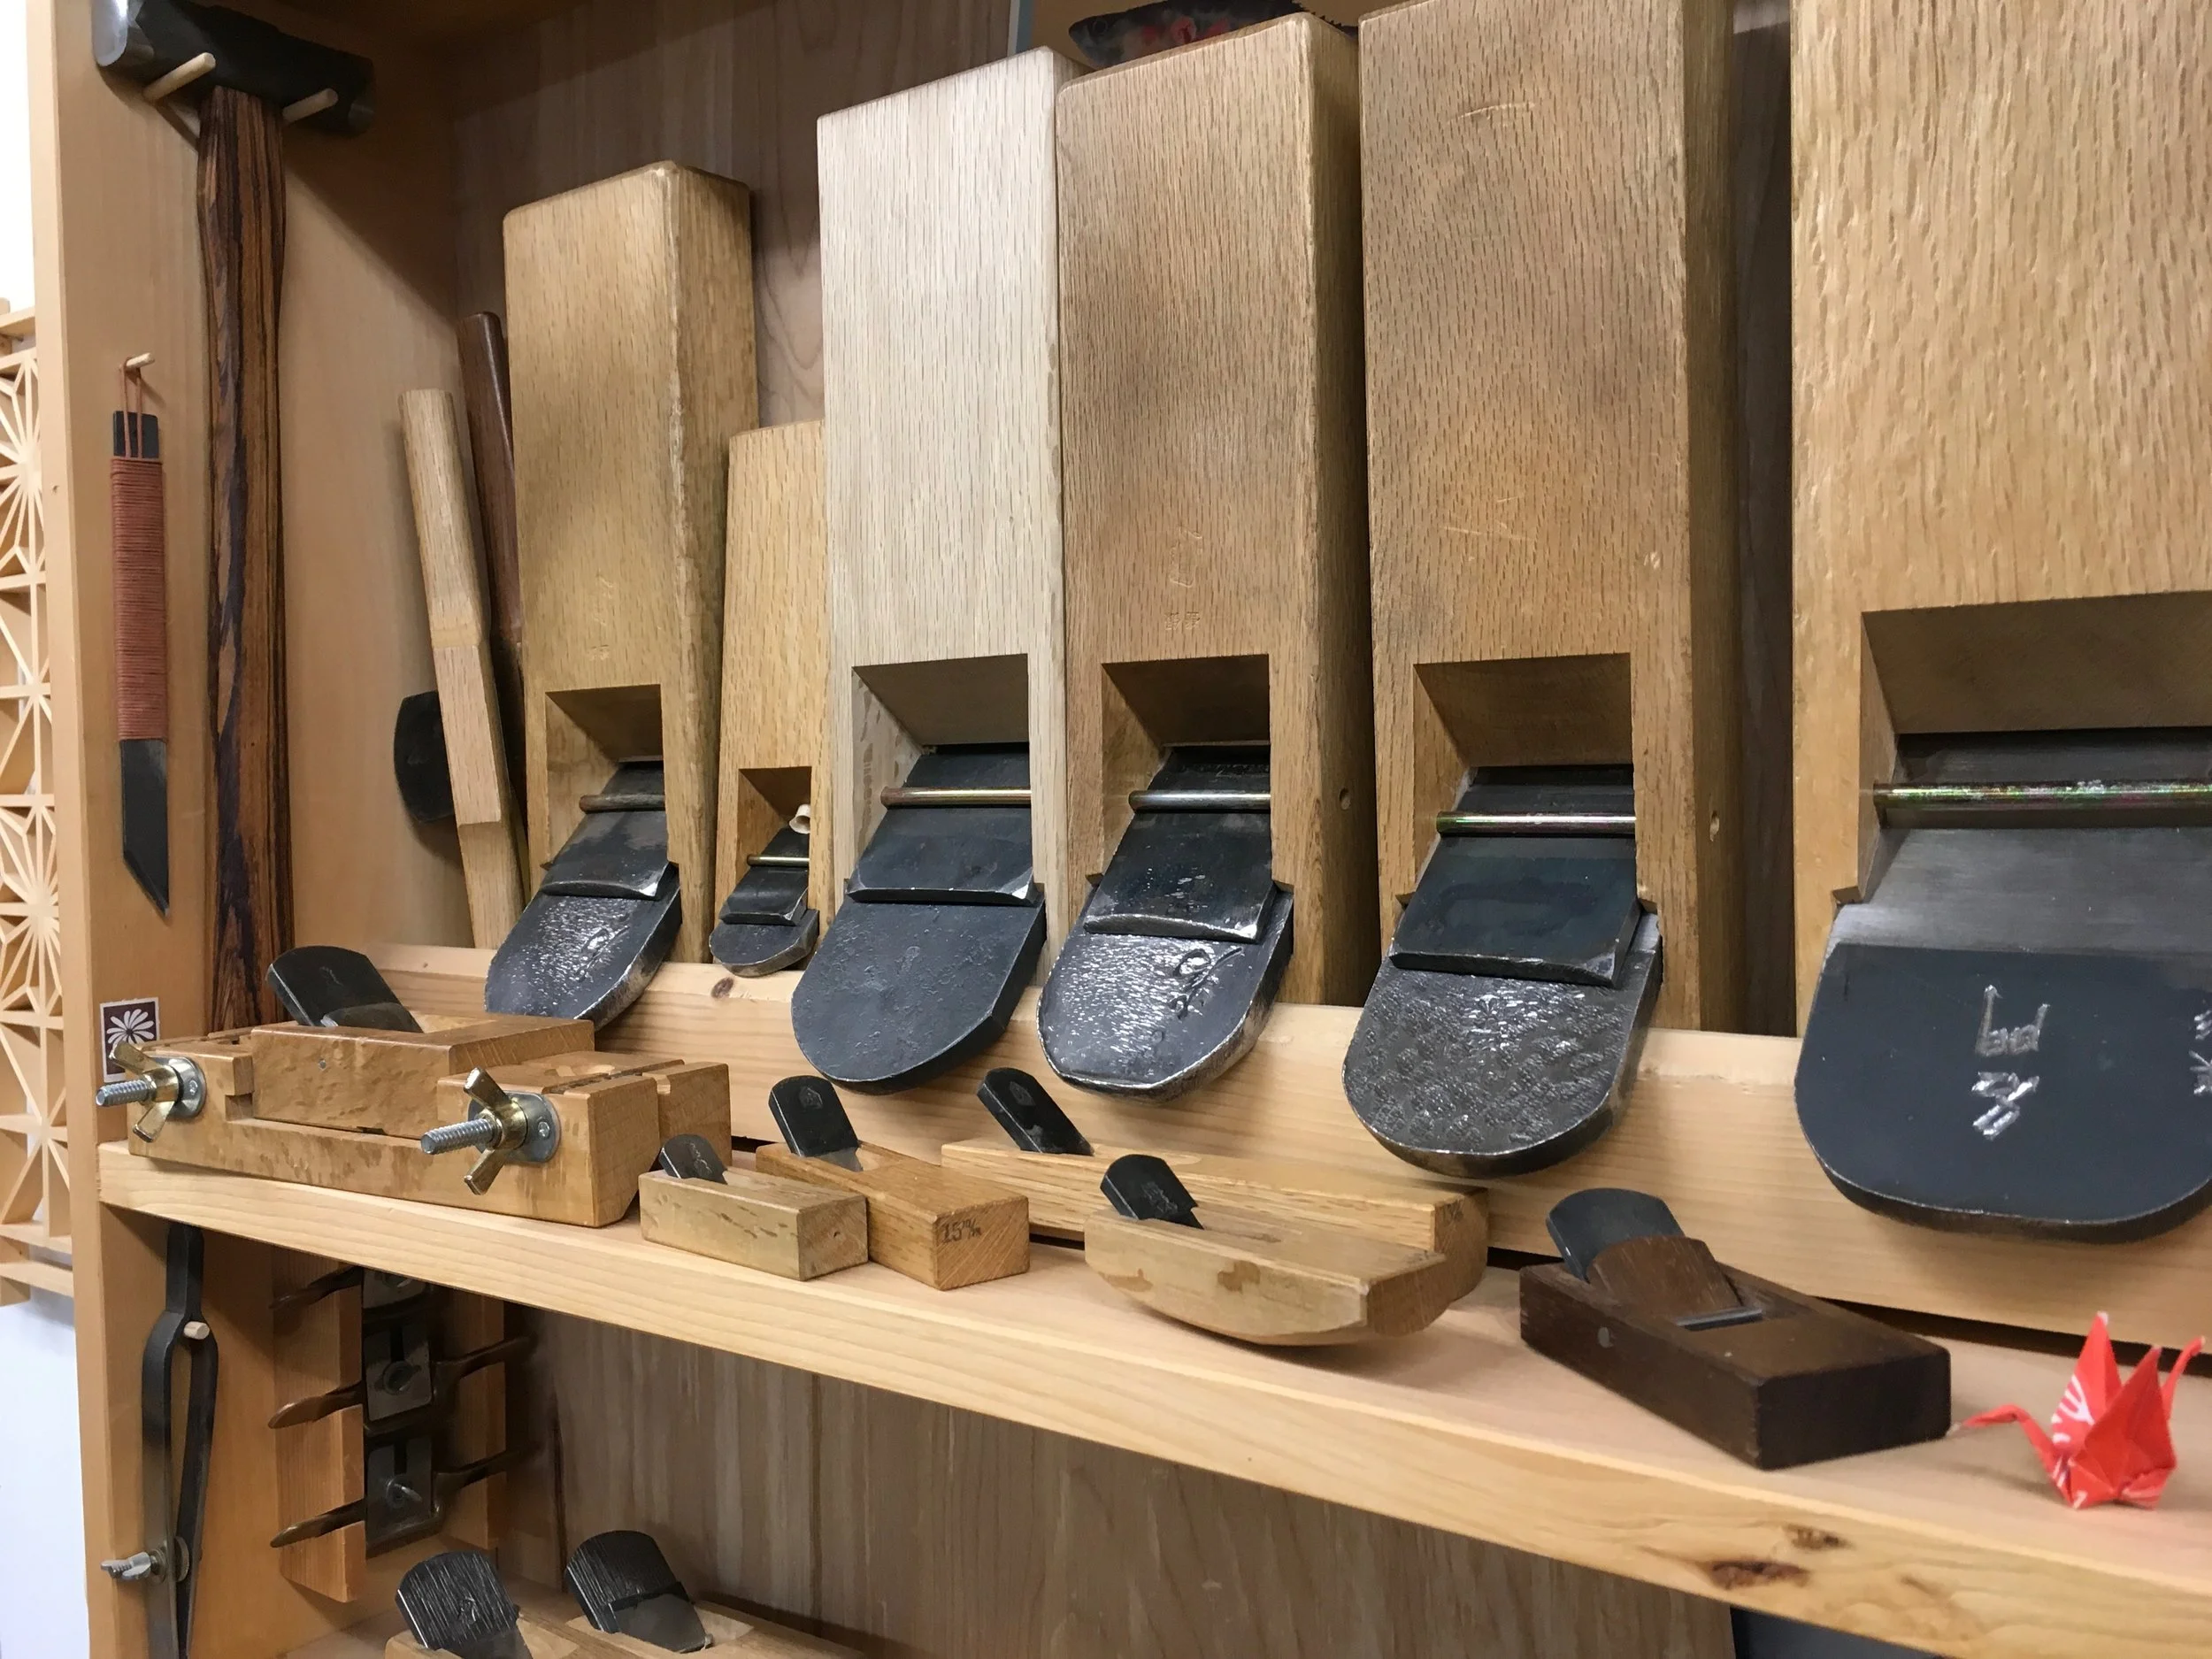
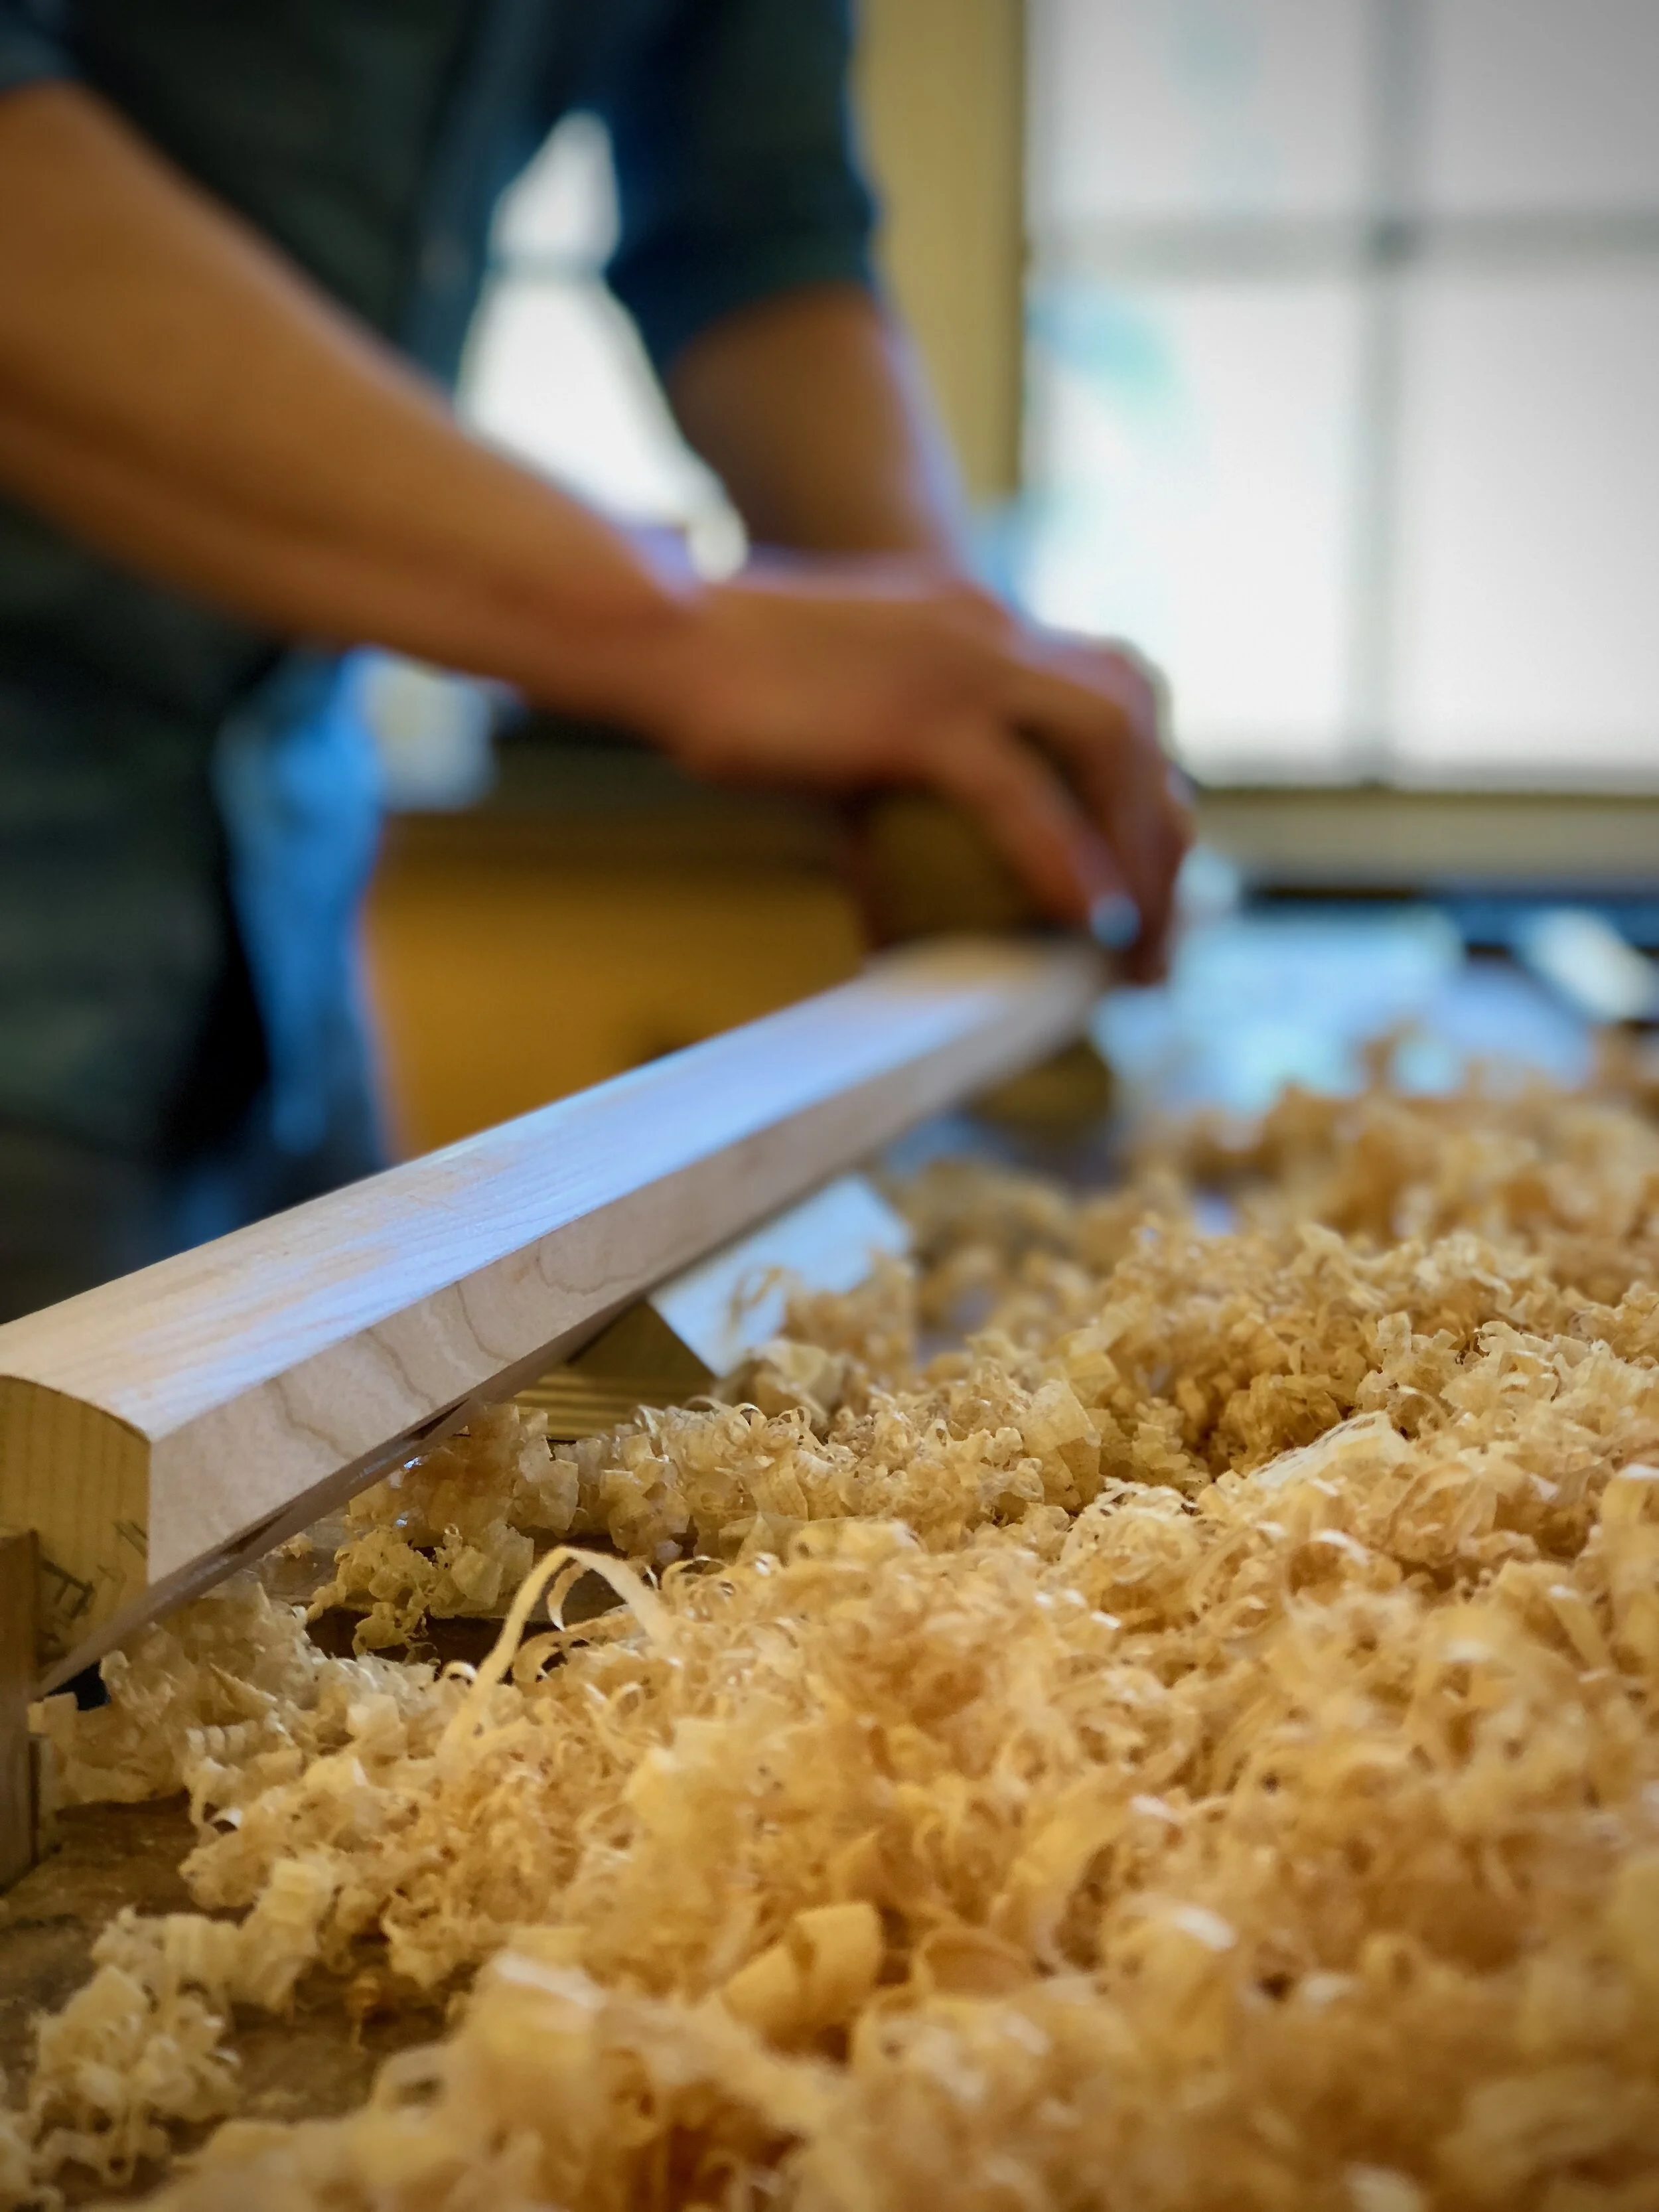
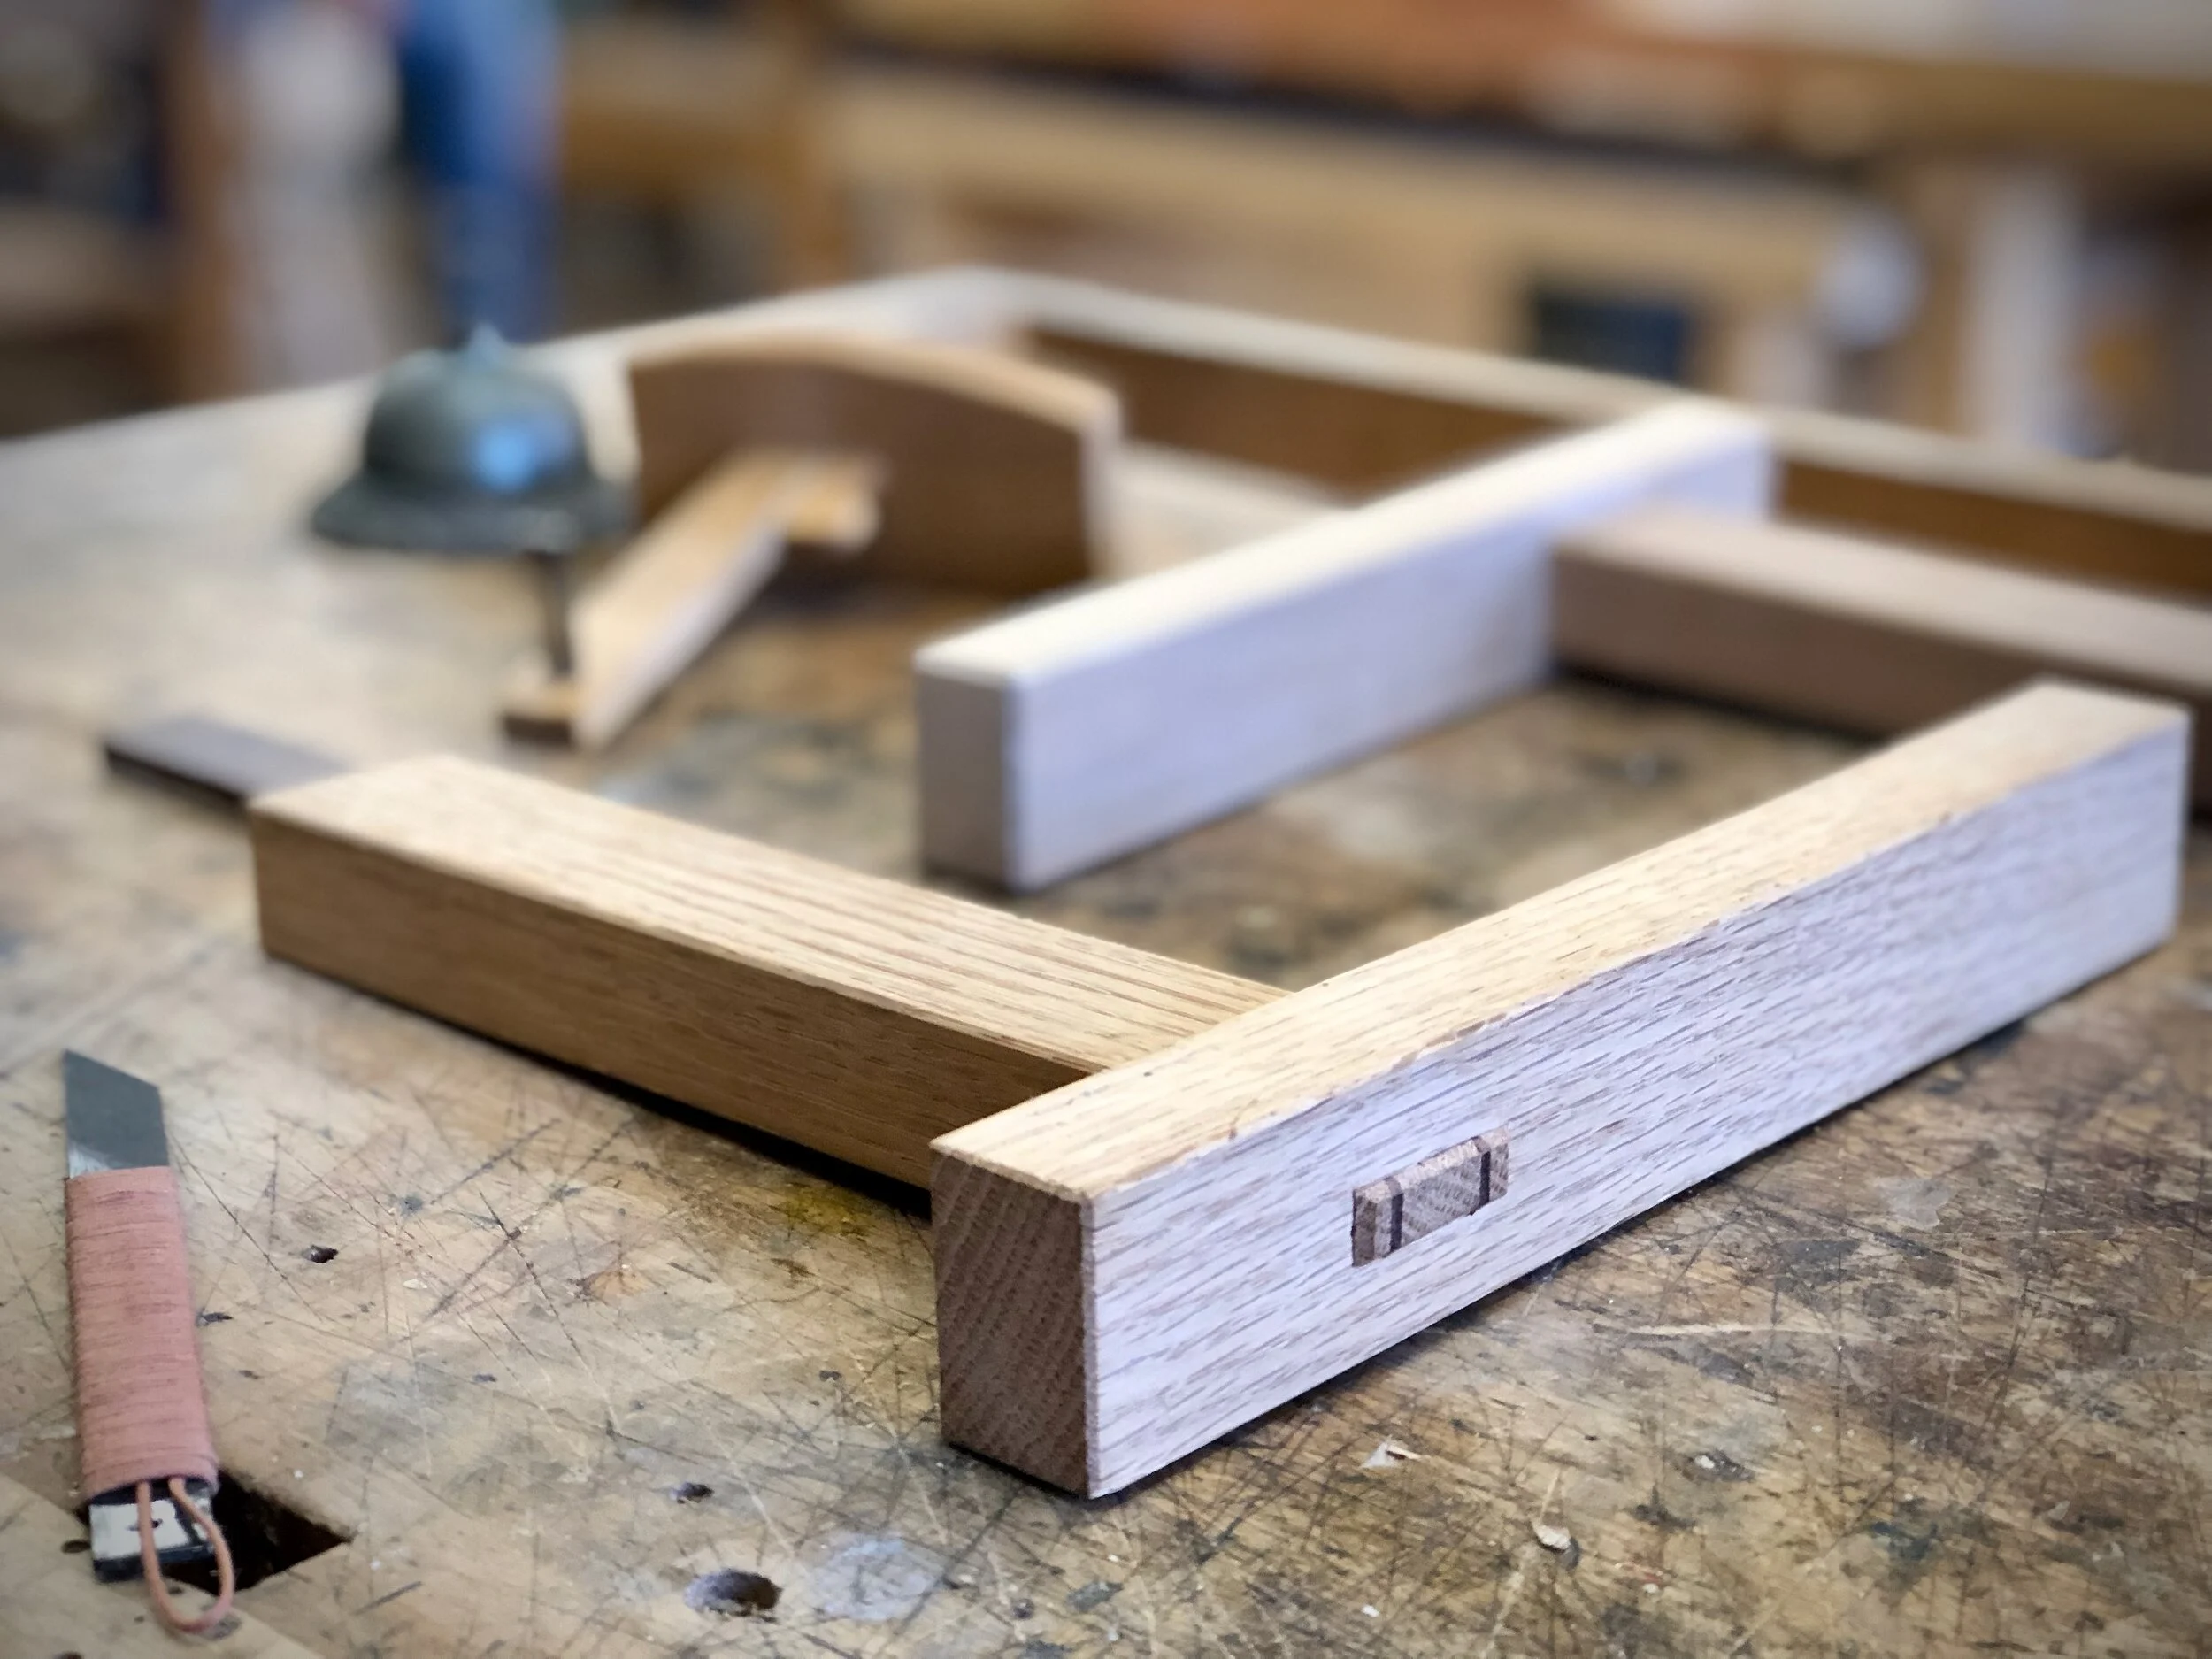
Files Files Files! Techniques, Shop tipsCraig StevensNovember 27, 2017Files, Hand tools, Shaping Comment
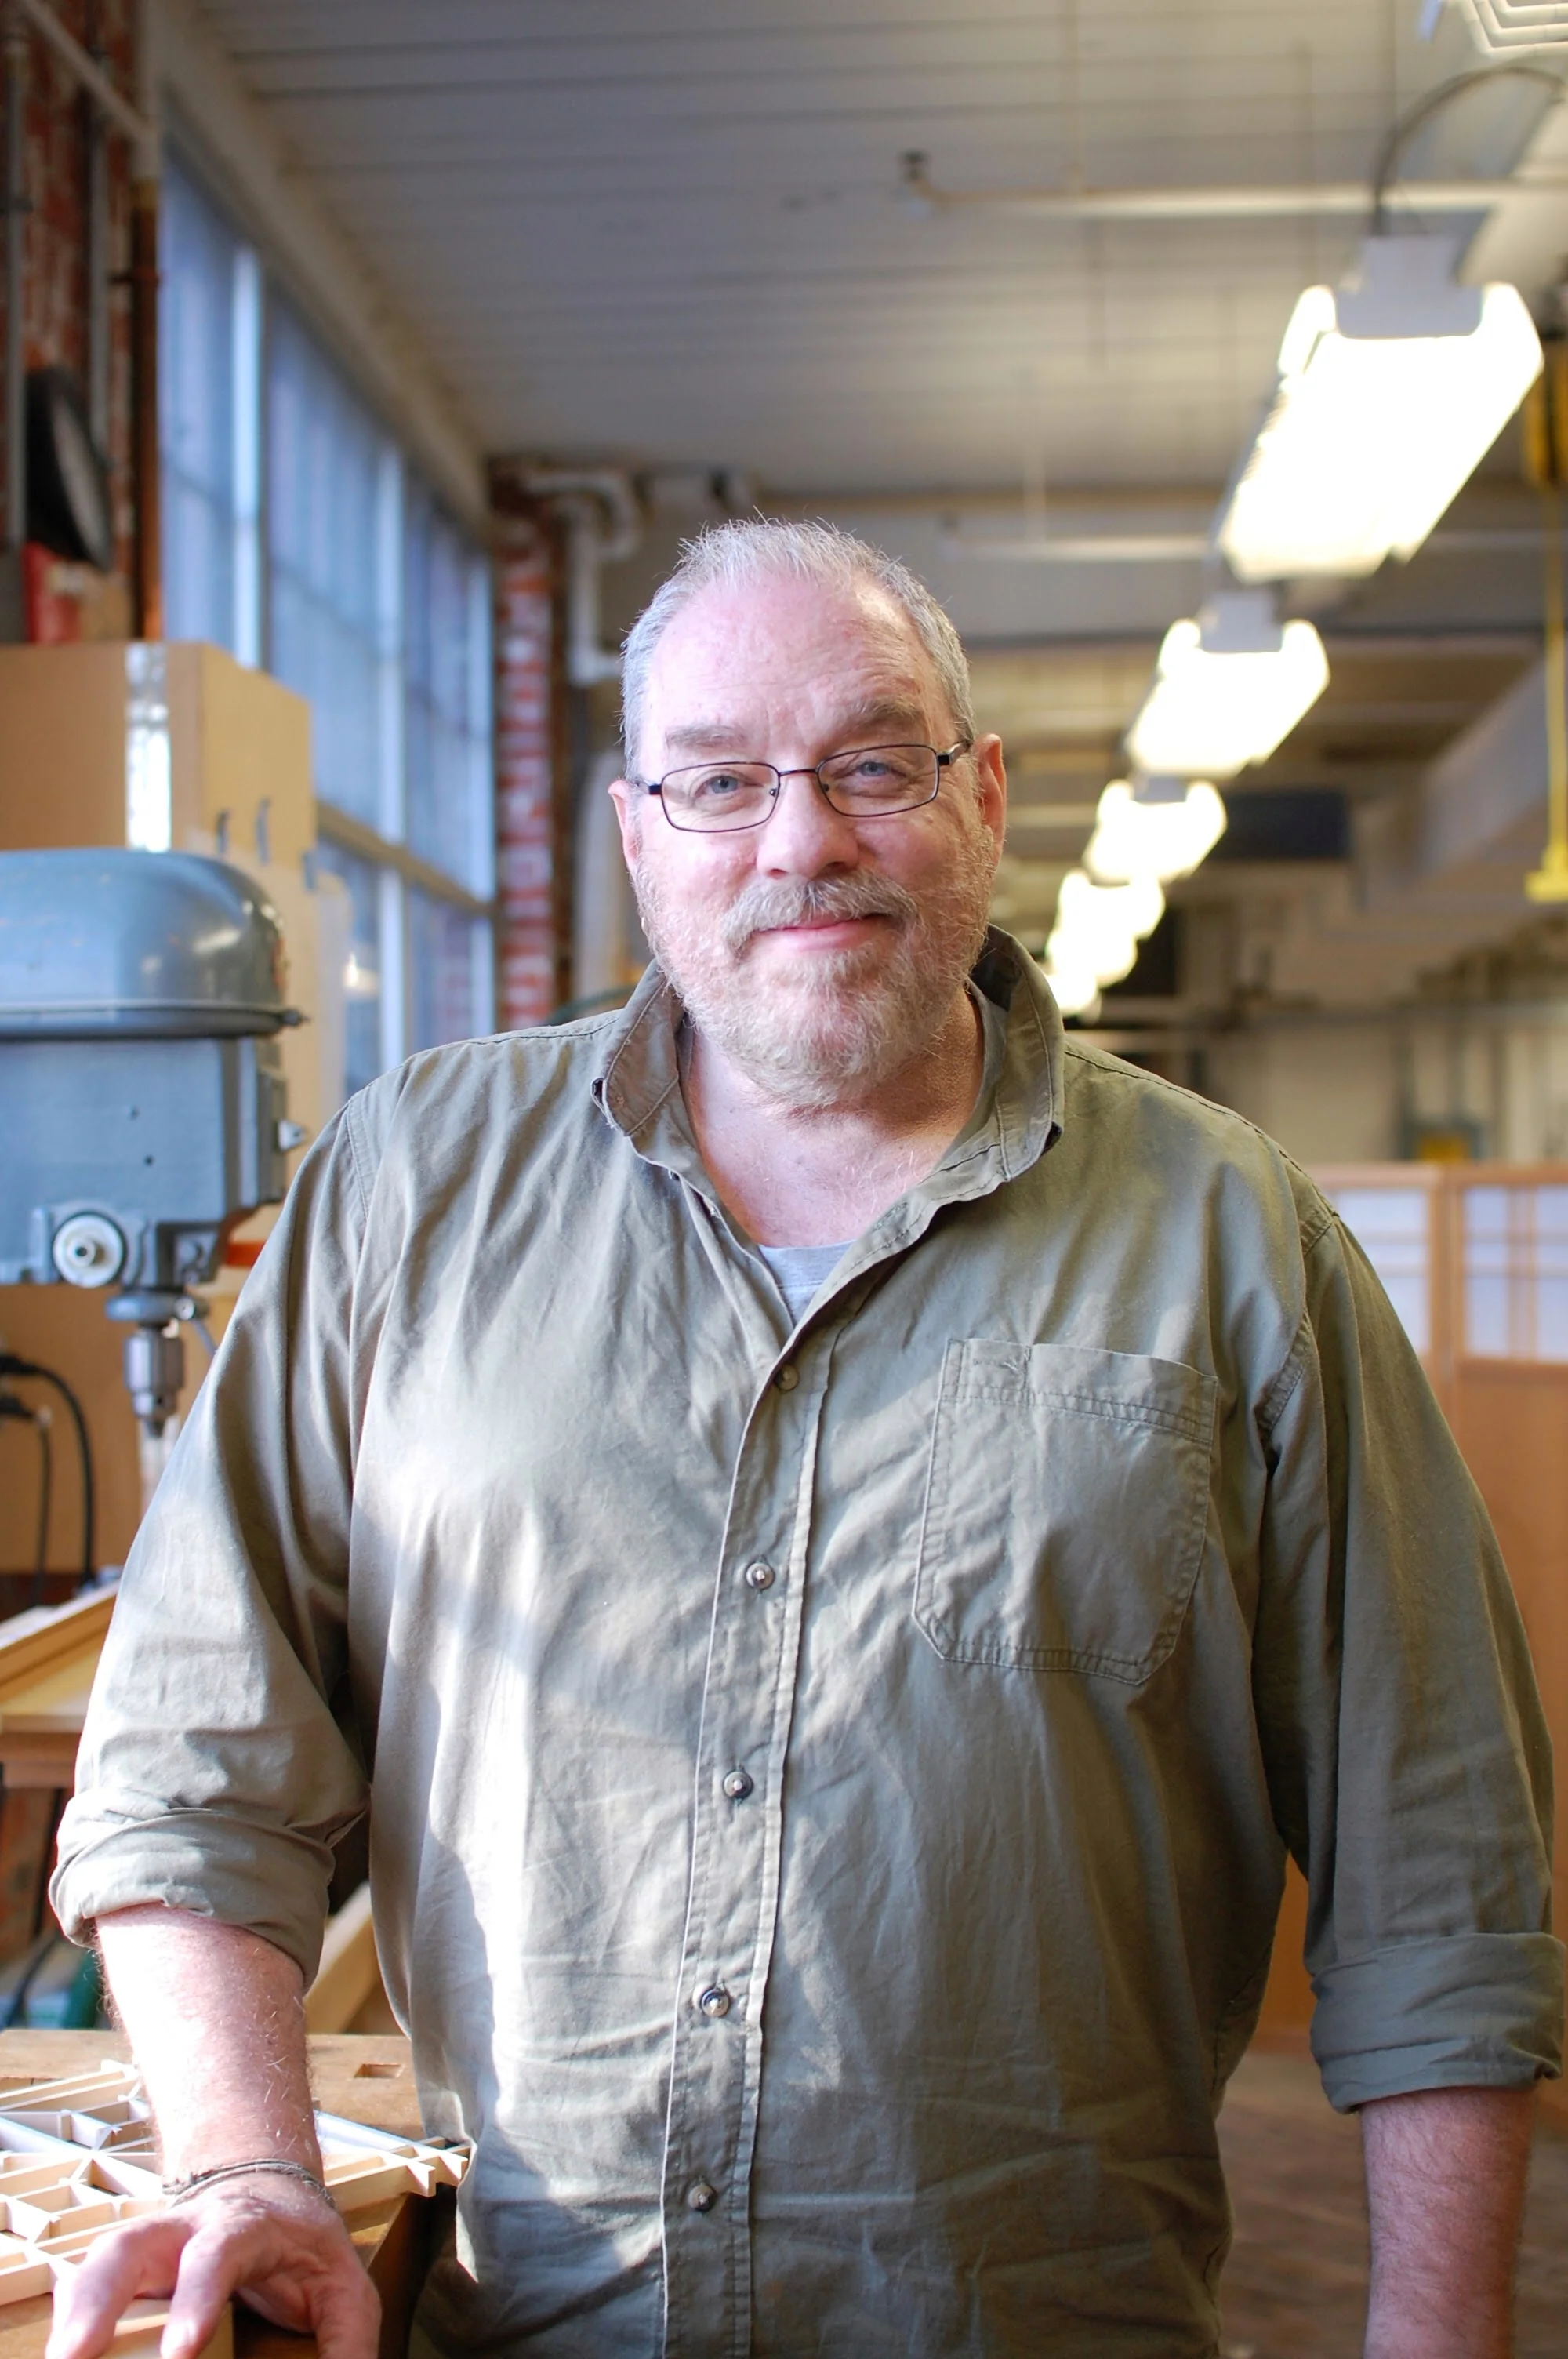
New Executive Director, Craig Vandall Stevens (part 2) Craig StevensJuly 20, 2017Director, New classes Comment
PFW's New Executive Director, Craig Vandall Stevens (part 1) Craig StevensJuly 17, 2017Director, New classes Comment